By: Jeff O'Keefe, NFI Certified Master Hearth Professional
Last Updated: June 18, 2025
If you love cookouts, then you know how important it is to select the right grill setup.
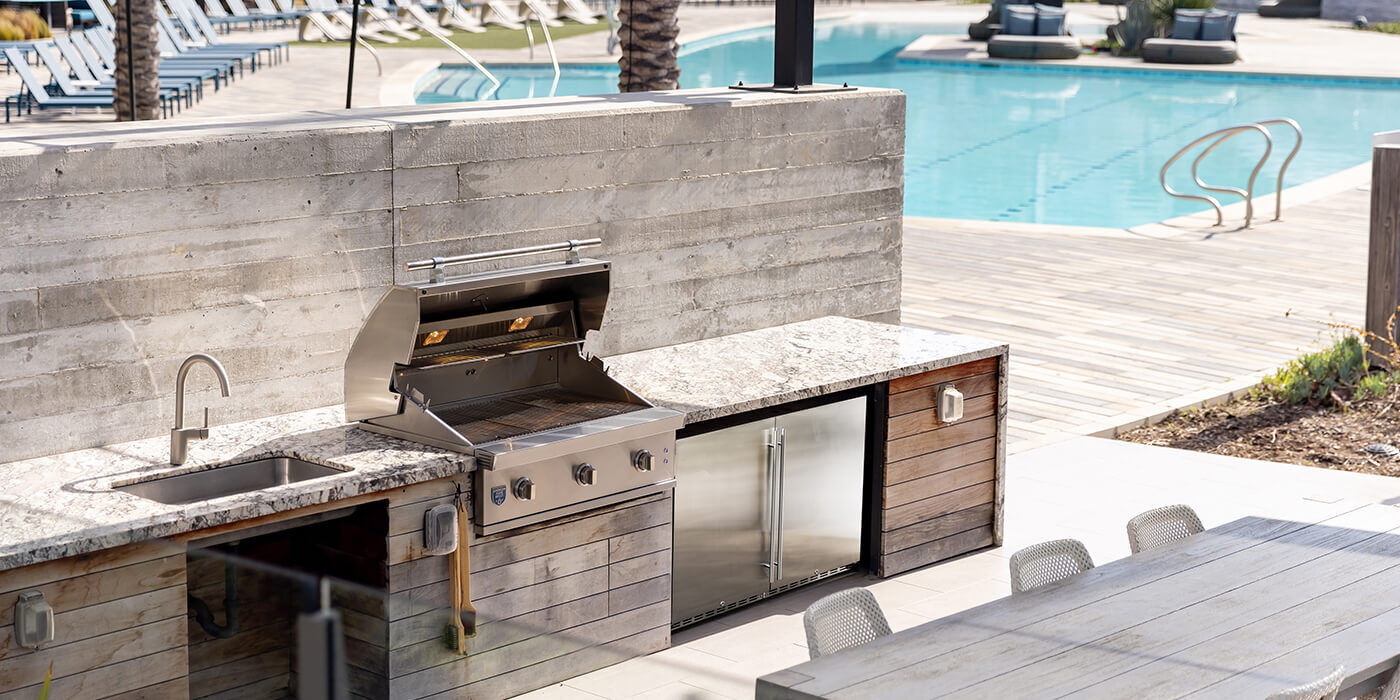
Building your own BBQ grill station complete with storage, appliances, and cooking accessories allows you to prepare multi-course meals outside, without making trips back to the main kitchen. Beyond convenience, a stylish grill setup makes your outdoor living space feel more luxurious.
Whether you’re a grilling enthusiast or love hosting cookouts, this guide will walk you through how to build the ultimate BBQ grill station.
Why Go Built-In?
Grills come in a variety of styles, including:
- Built-in
- Cart-mount
- Post-mount
- Freestanding
- Tabletop
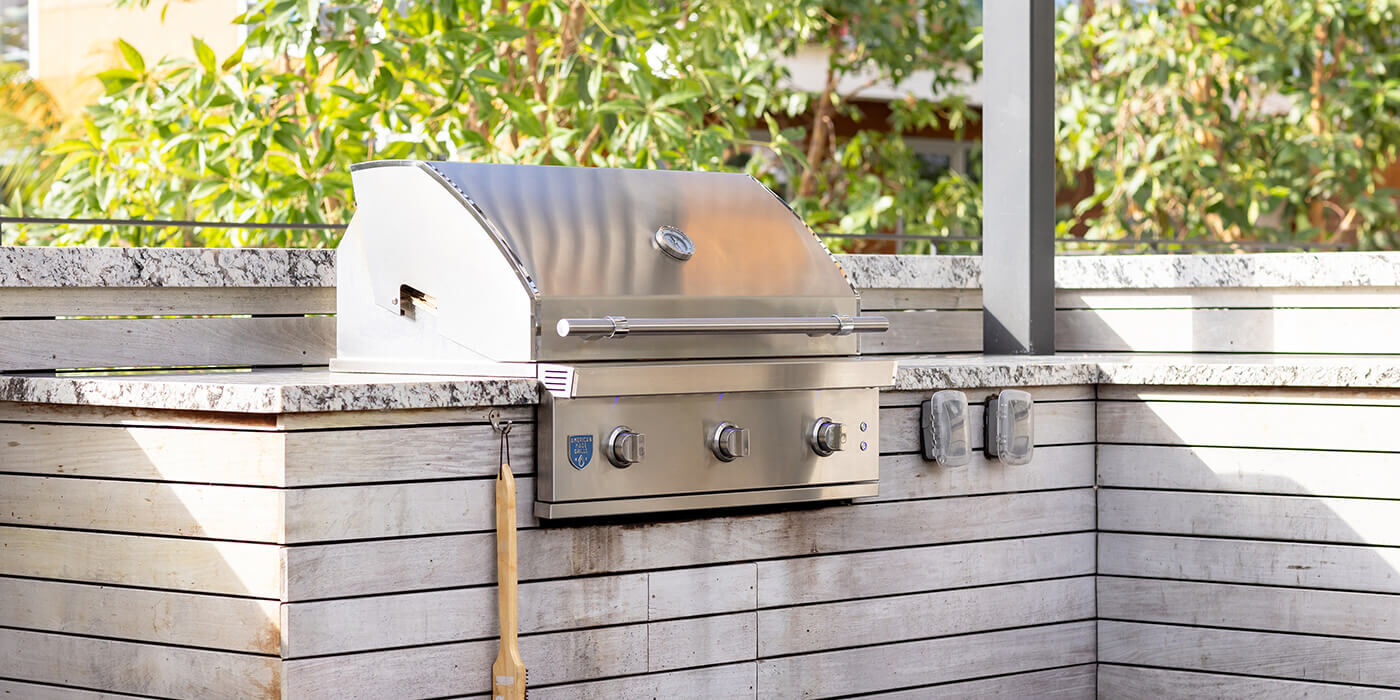
Each style has its advantages, but a built-in BBQ grill station provides the most workspace.
At minimum, you’ll have a countertop for prep and serving space, but you can also upgrade your grill setup with storage, a sink, a refrigerator, a bar, seating, and more.
Ready-to-Finish (RTF)/Prefab Grill Stations
⭐ Best for: Homeowners who want a quick, budget-friendly solution that still offers some personal style through finishing, without extensive custom features.
A Ready to Finish (RTF) or Prefab BBQ grill station is a pre-assembled outdoor kitchen frame that's structurally built but not yet covered with finishing material.
It's designed to let you customize the exterior to match your style while saving time on construction. It typically includes cutouts for a grill and other appliances, and is ready for utilities (gas, electric, water) to be connected.
Benefits of RTF/Prefab
✅ Pre-Built Frame: Since the structure is pre-built, you can skip complex framing and start customizing right away — saving days or even weeks compared to building from scratch.
✅ Customizable Appearance: You have the freedom to apply your own exterior finishes (stone, tile, brick, stucco, etc.) to match your home's style or outdoor aesthetic.
✅ Professional-Looking Results: Because the frame is already assembled by the manufacturer, you’ll end up with a square, level, and structurally sound grill station, compared to a DIY frame.
Project Steps
Step 1: Purchase a Prefab Unit
Select a Ready-to-Finish/Prefab grill island that fits your grill and outdoor space dimensions.
Step 2: Prepare the Site
Your grill station must sit on a stable, level base — usually a concrete slab or pavers.
Step 3: Place the Prefab Unit
Place your RTF/Prefab grill island in its final location.
Step 4: Finish the Outside
Apply finishing materials to the outside of your RTF/Prefab unit. Use sturdy, outdoor-rated materials, like concrete, stone veneer, stucco, and tile.
Step 5: Install Your Appliances
Insert your grill head and other appliances, like side burners, sinks, and refrigerators, into the designated cutouts.
Step 6: Connect Utilities
Have a licensed professional hook up gas lines, electrical wiring, and plumbing to the modules, if needed.
Modular Grill Stations
⭐ Best for: Customers who want a balance between customization, quality, and ease of installation, and prefer a quicker project turnaround.
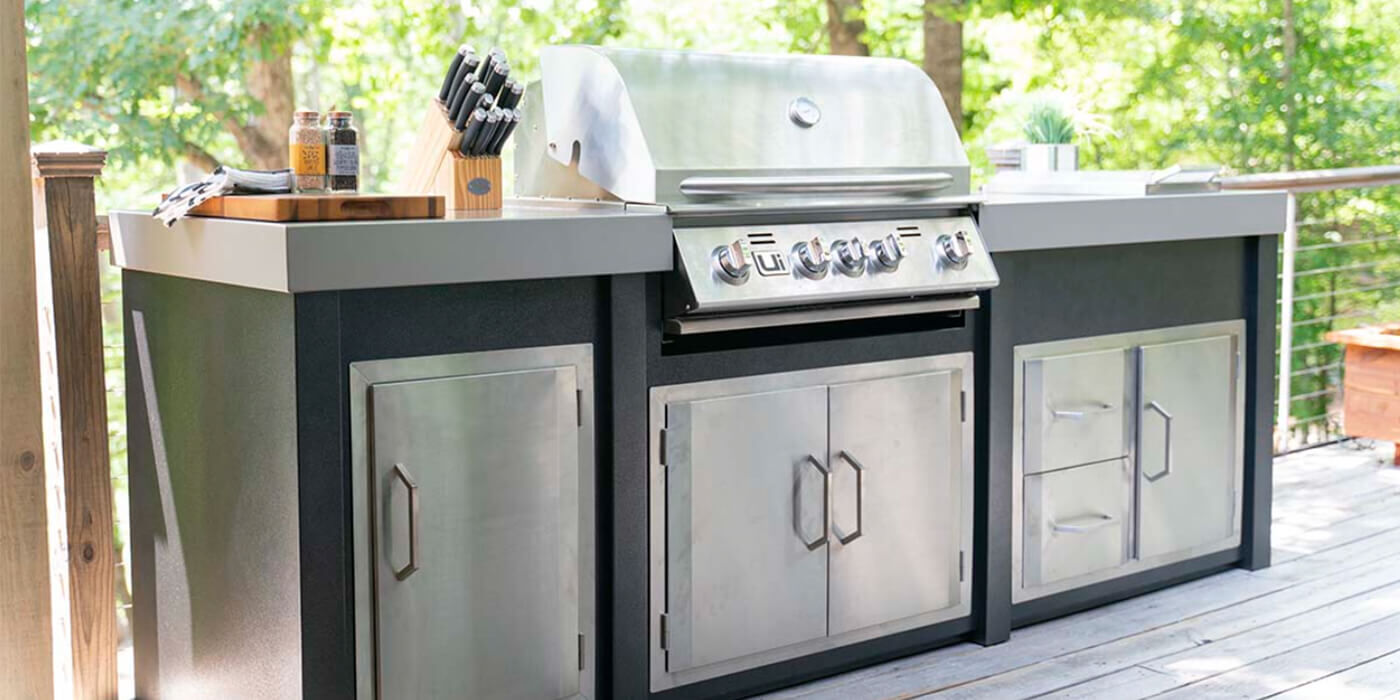
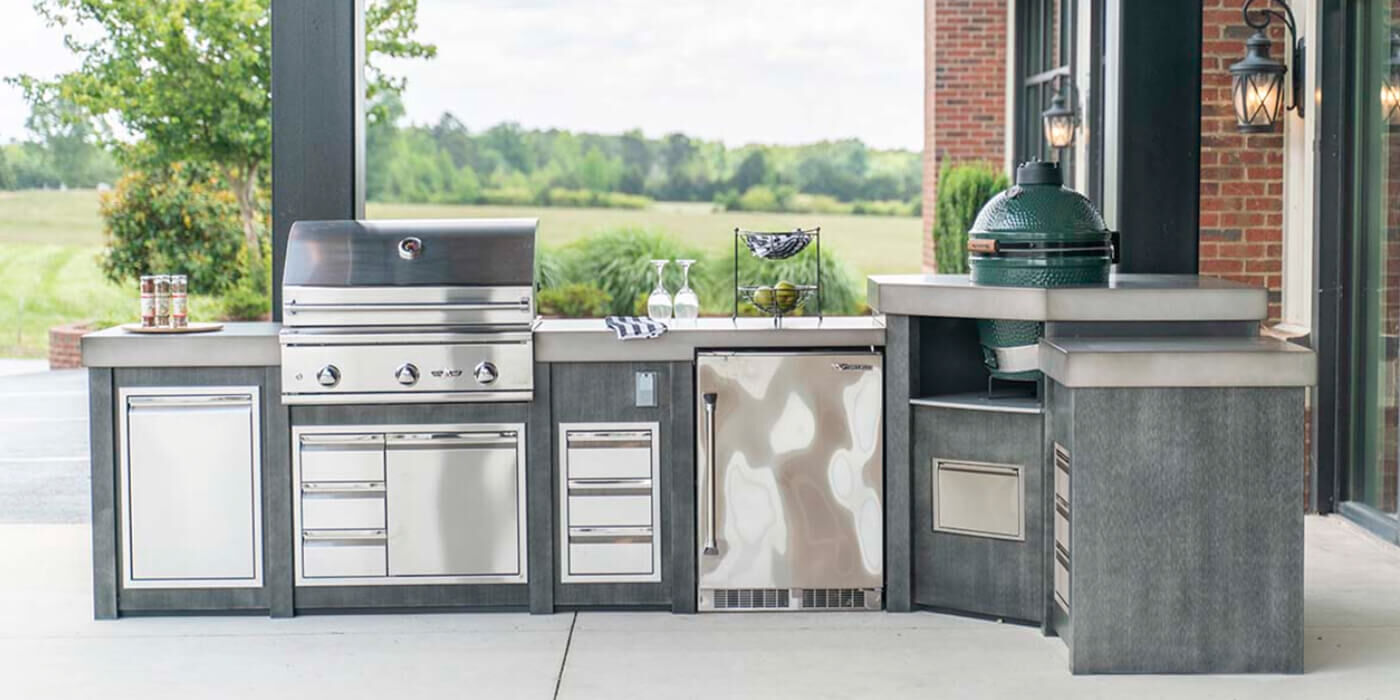
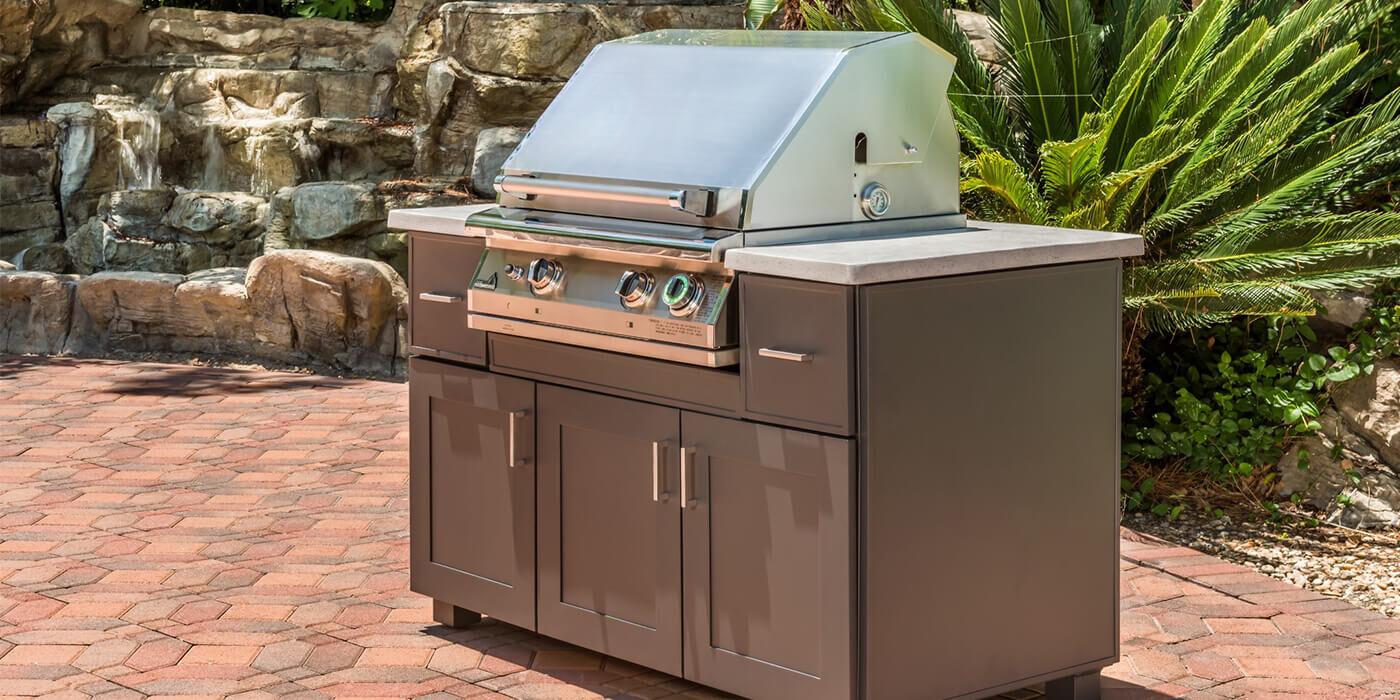
Modular grill stations are very easy to put together. They’re made up of “modular” cabinets — you pick the cabinets you like and arrange them to form your layout. Some modular islands arrive fully assembled, making your project a breeze.
Customizing a modular grill station is also more affordable than building a custom outdoor kitchen from the ground up. Plus, you won’t have to worry about purchasing separate parts and making sure they’re compatible. All the required (and optional) components in a modular grill station are designed to fit together.
Benefits of Modular
✅ Flexible Configurations: You can mix and match modules to fit your space and cooking preferences.
✅ Variety of Looks: Modular grill stations are often available in a wide array of finishes and colors to match your personal style.
✅ Simple Installation: All parts arrive ready-to-assemble with minimal construction work.
Project Steps
Step 1: Select Your Modules
Select all your modules (parts of your grill station). Each brand will have a catalog of pre-approved modules you can choose from.
Step 2: Prepare the Site
Your grill station must sit on a stable, level base — usually a concrete slab or pavers.
Step 3: Assemble Your Modules
Unpack and place the modules according to your planned configuration, then secure them together with screws or brackets.
Step 4: Connect Utilities
Have a licensed professional hook up gas lines, electrical wiring, and plumbing to the modules, if needed.
Step 5: Add Countertops
If your countertops aren’t pre-installed, attach them to the modules.
Step 6: Install Appliances
Insert your grill head and other appliances, like side burners, sinks, and refrigerators, into the designated cutouts.
Building a BBQ Grill Station from Scratch
⭐ Best for: Buyers with a large budget and time for a full construction project who want a unique, high-end outdoor kitchen that fits their exact specifications.
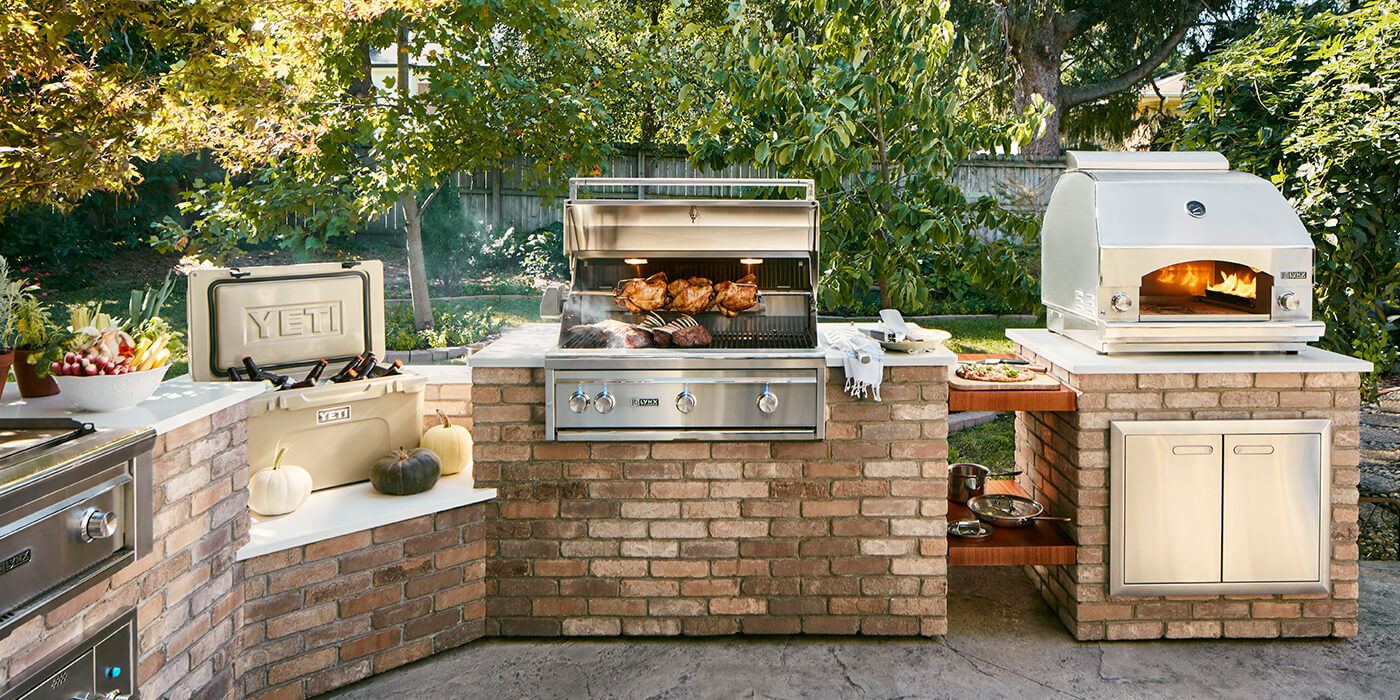
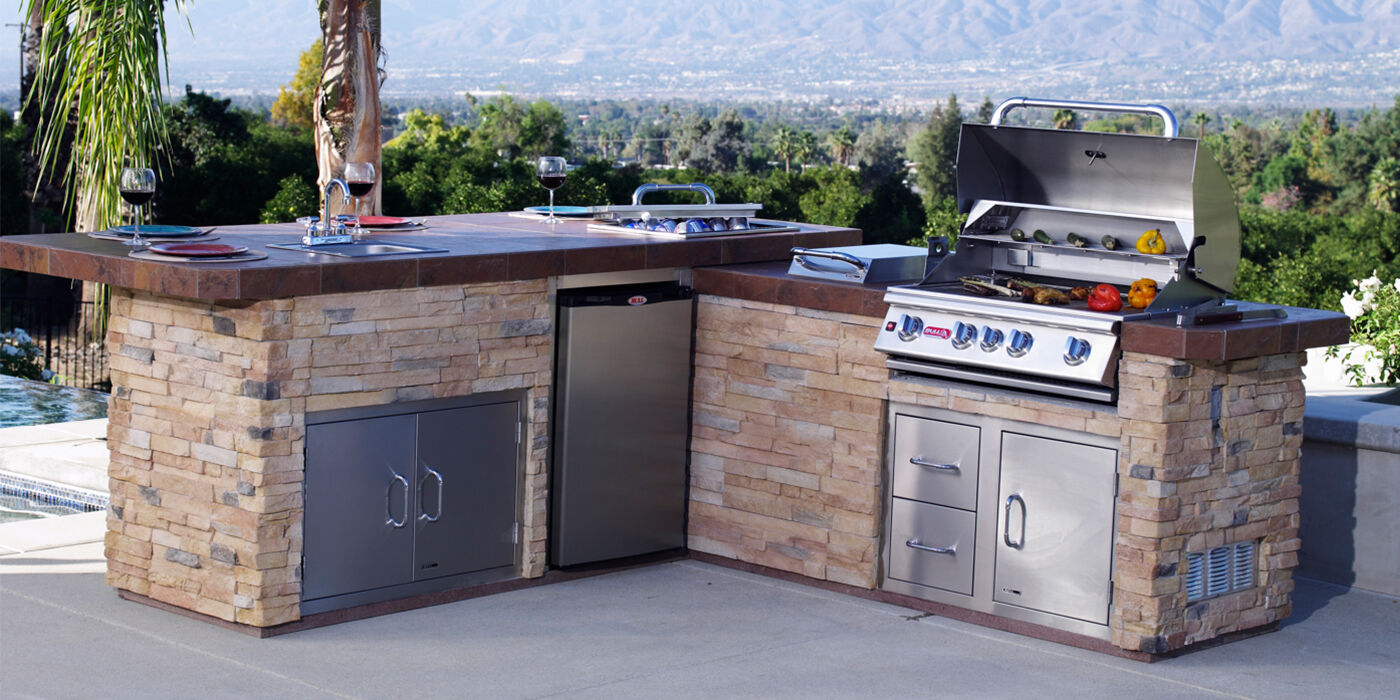
A custom-built BBQ grill station is designed and constructed entirely from the ground up, tailored specifically to your vision, space, and preferences. Every detail of your project is customized, from the materials you use to the layout.
We recommend working with a professional to build your custom BBQ grill station. An experienced contactor, architect, or designer can help you draft your plans.
A pro can also help you determine if you need gas lines, water lines, or electrical connections, and get them installed safely.
Benefits of Custom-Built
✅ Personalized Design: You have full creative freedom with a custom outdoor grill island. You can tailor the layout to fit your space, choose custom finishing materials, and incorporate all the appliances and accessories you’ll need.
✅ Built On-Site: Construction happens directly in your outdoor space using raw materials.
✅ High-End Look: Custom-built outdoor kitchens offer a seamless, upscale aesthetic.
Project Steps
Step 1: Design & Planning
Work with a professional to draft detailed plans, including size, shape, layout, appliances, plumbing, and electrical needs.
Choose the material you want to use to build your custom BBQ grill station. Make sure all the building materials you select are durable and rated for outdoor use.
The most common finishing materials include:
- Concrete
- Brick
- Stone veneer
- Tile
- Stucco
Step 2: Prepare the Site
Your grill station must sit on a stable, level base — usually a concrete slab or pavers.
Step 3: Build the Frame
Construct the structural frame of your grill station with pressure-treated wood. Be sure to leave a cut-out for your grill. Cover the frame with cement board to protect it from high heat.
Step 4: Install Utilities
Hire a professional to install gas lines, plumbing for sinks and refrigerators, and electrical wiring for lights, outlets, or appliances.
Step 5: Apply Finishing Material & Countertops
Apply finishing material to your frame — such as stone veneer, tile, stucco, or brick — to create a clean, cohesive look that matches the rest of your outdoor living space.
Complete your grill station by installing countertops made of granite, concrete, or another weather-resistant material.
Step 6: Install Appliances
Insert your grill head and other appliances, like side burners, sinks, and refrigerators, into the designated cutouts.
Step 7: Final Touches
Elevate your grill station even more with optional accessories and outdoor features, such as string lighting, seating, and decor.
Easy Outdoor Grill Station Ideas
71" Outdoor Kitchen Island
by Heritage
- Pre-assembled aluminum base in six colors
- Aluminum Concrete or Champagne-colored countertops
- Stainless steel components
- Custom cut-outs for your appliances
- 17 storage options, including single access doors, double and triple pull-out drawers, and trash receptacles
- Optional 32” Summerset Sizzler Built-In Grill
- Natural Gas or Propane
Model 67 Modano Outdoor Kitchen Island
by PGS
- Pre-assembled aluminum frame
- Cast aluminum countertops with a 1.5” overhang
- Storage includes two pull-out drawers and three doors
- Fits the PGS Pacifica S36 Built-In Grill
- Optional shut-off timer and rotisserie kit
- Natural Gas or Propane
Gourmet-Q Grill Island
by Bull
- Stucco Rock base in four colors
- Galvanized steel countertops with porcelain tile or granite finish
- Storage includes door/drawer combo, double doors, and horizonal access door
- Fits the 4-Burner Angus built-in grill, 5-Burner Brahma built-in grill, or 6-Burner Diablo built-in grill
- Optional outdoor refrigerator, side burner, and Bluetooth docking station
- Natural Gas or Propane
FAQs
Not safely. Built-in grills are designed to vent heat properly. Always choose a grill labeled as “built-in ready.”
Check with local authorities — some areas require permits for gas or electrical lines.
Most DIYers can complete a basic setup in 2–4 days, depending on complexity.
We’re Here to Help
Do you have more questions or need help building your BBQ grill station? Reach out to our NFI Certified experts today at 800.919.1904.
More Resources
Compare and contrast each grill style to find the best option for outdoor cookouts.
Discover the key differences between Ready-to-Finish and DIY BBQ grill islands.
Find out what you need to know before installing an outdoor kitchen.
 |
Jeff O'Keefe is a skilled Technical Sales Representative with a decade of experience at Woodland Direct. As an NFI-Certified Master Hearth Professional, Jeff has helped clients complete a variety of projects, from selecting a fire pit to customizing an indoor fireplace. When he's not working, Jeff escapes to The Great Outdoors. He enjoys exploring new hiking trails, fishing, hunting, and dirt biking. His love for adventure and the outdoors is reflected in his passion for creating warm, inviting spaces that bring people together. Call Jeff or one of our experts in fire at 800.919.1904. |
