By: Thomas Kearney, NFI Certified Master Hearth Professional
Last Updated: July 24, 2025
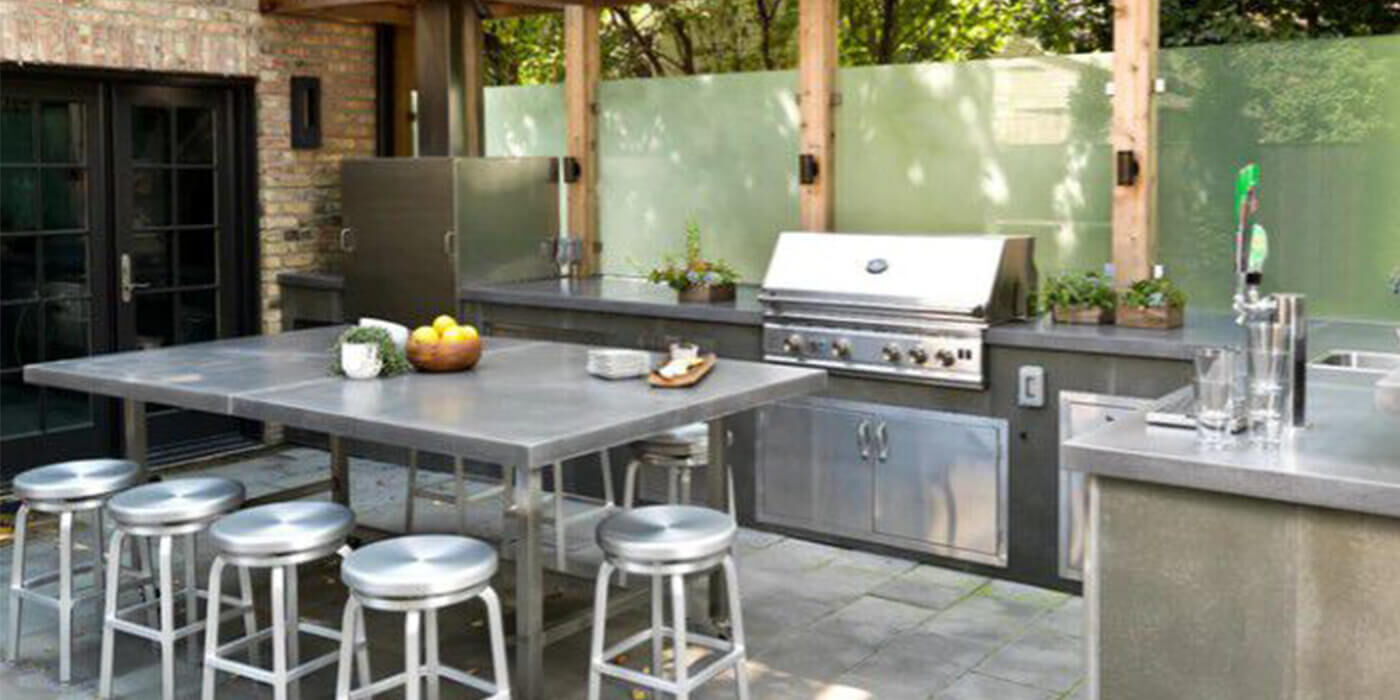
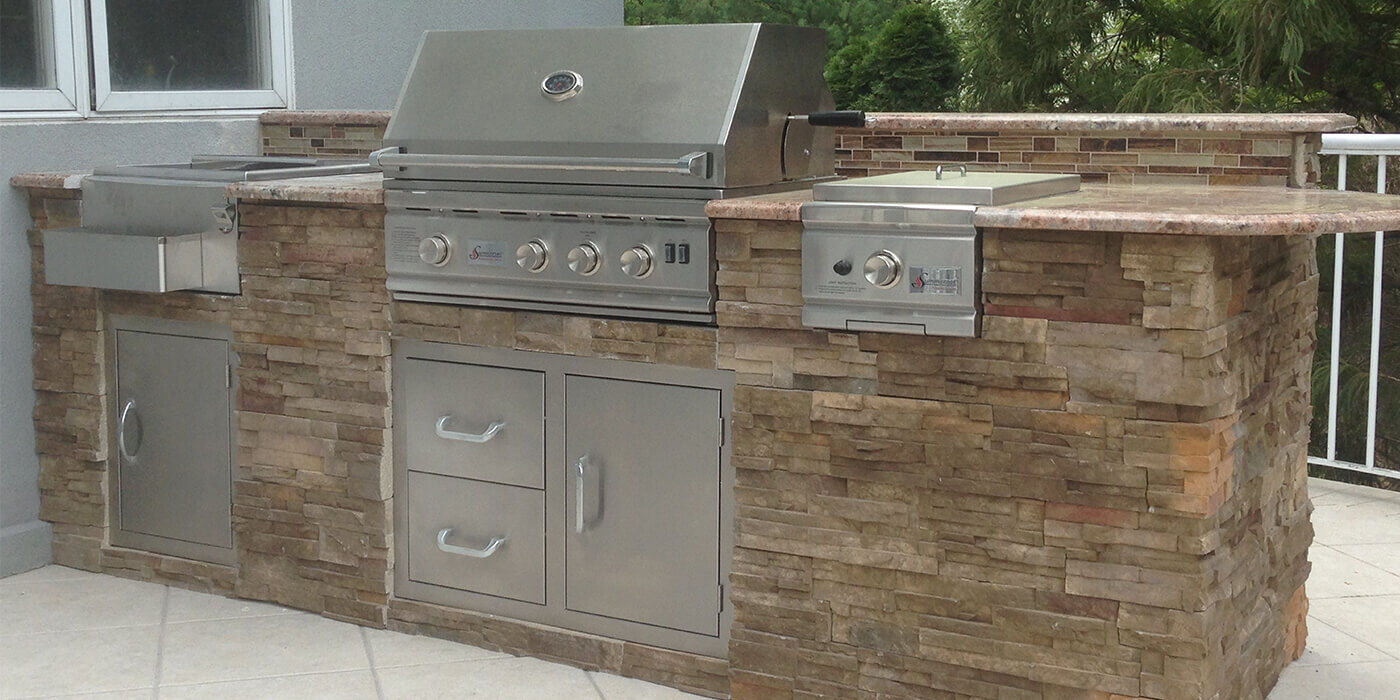
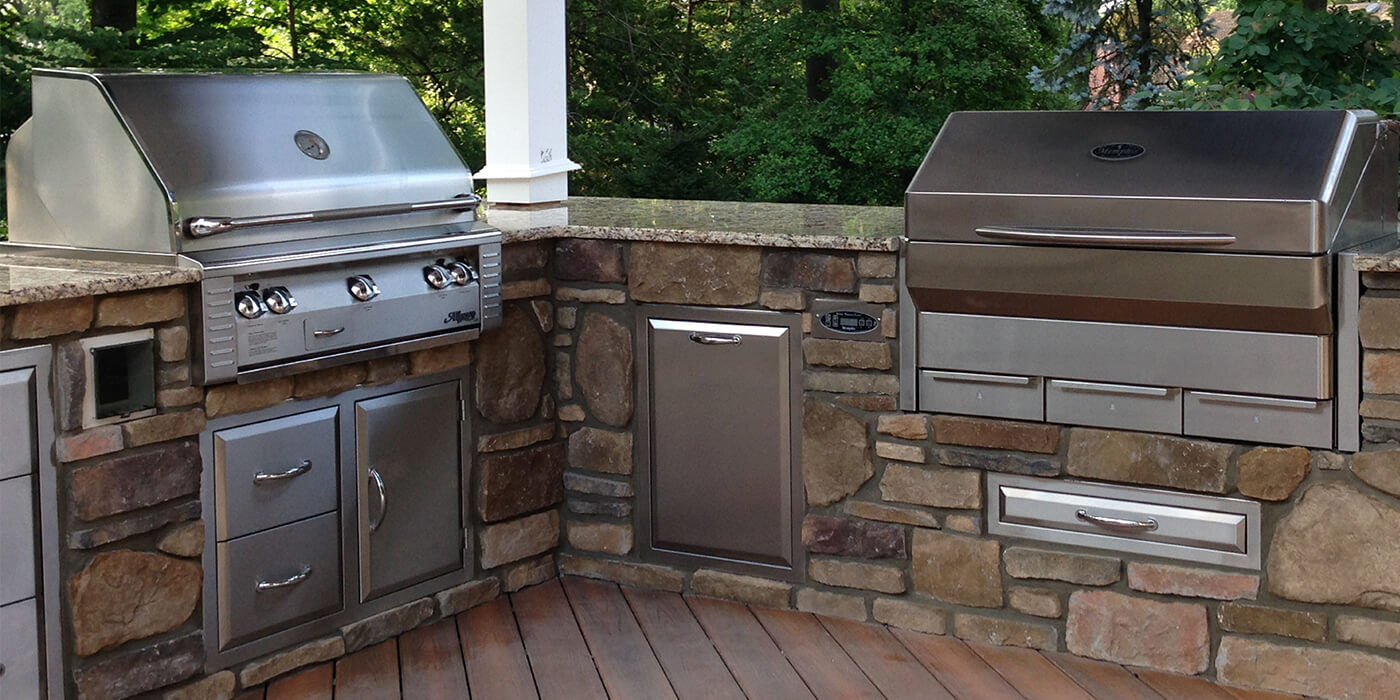
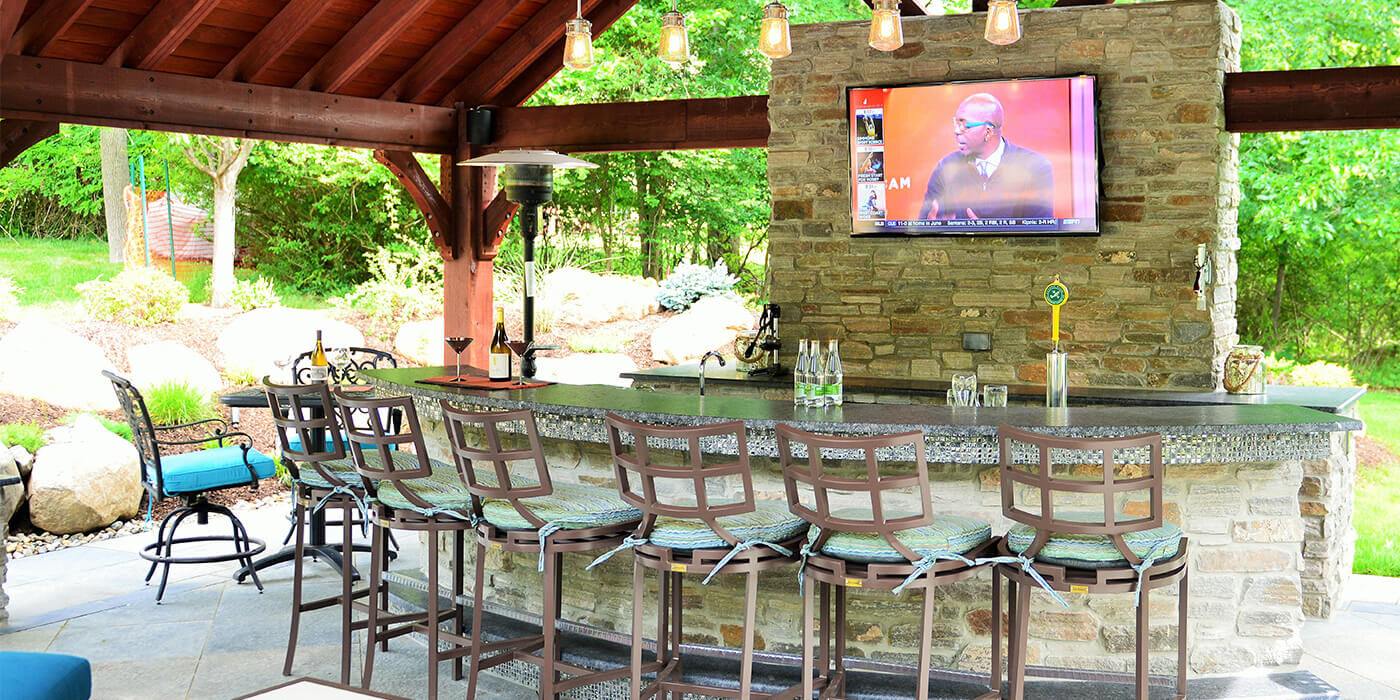
Ready-to-finish (RTF) outdoor kitchens are a top choice for homeowners looking for a quick, cost-effective, and high-quality way to create their dream outdoor kitchen. These modular systems offer unmatched customization options while saving time and money compared to custom-built kitchens.
RTF kitchen islands are prefabricated steel or aluminum frames wrapped in durable cement board and feature pre-cut cutouts for your built-in grill, side burners, outdoor appliances, and more.
Rather than building from scratch, you can choose a ready-to-finish island that fits your space and finish it with your preferred non-combustible materials, such as stucco, tile, or stone veneer.
With the right planning, your outdoor kitchen design can include everything from pizza ovens and kamado grills to griddles and refrigerators — tailored for both form and functionality. Keep reading to make your kitchen project a success.
Layout
Your outdoor kitchen island layout sets the stage for both style and usability. Whether you’re working with a small patio or a large backyard, there's an RTF configuration for your needs.
Curved
✅ Best for large outdoor living spaces.
✅ Encourages interaction with guests across the counter.
✅ Accommodates a central built-in grill, with room for a bar area and multiple appliances.
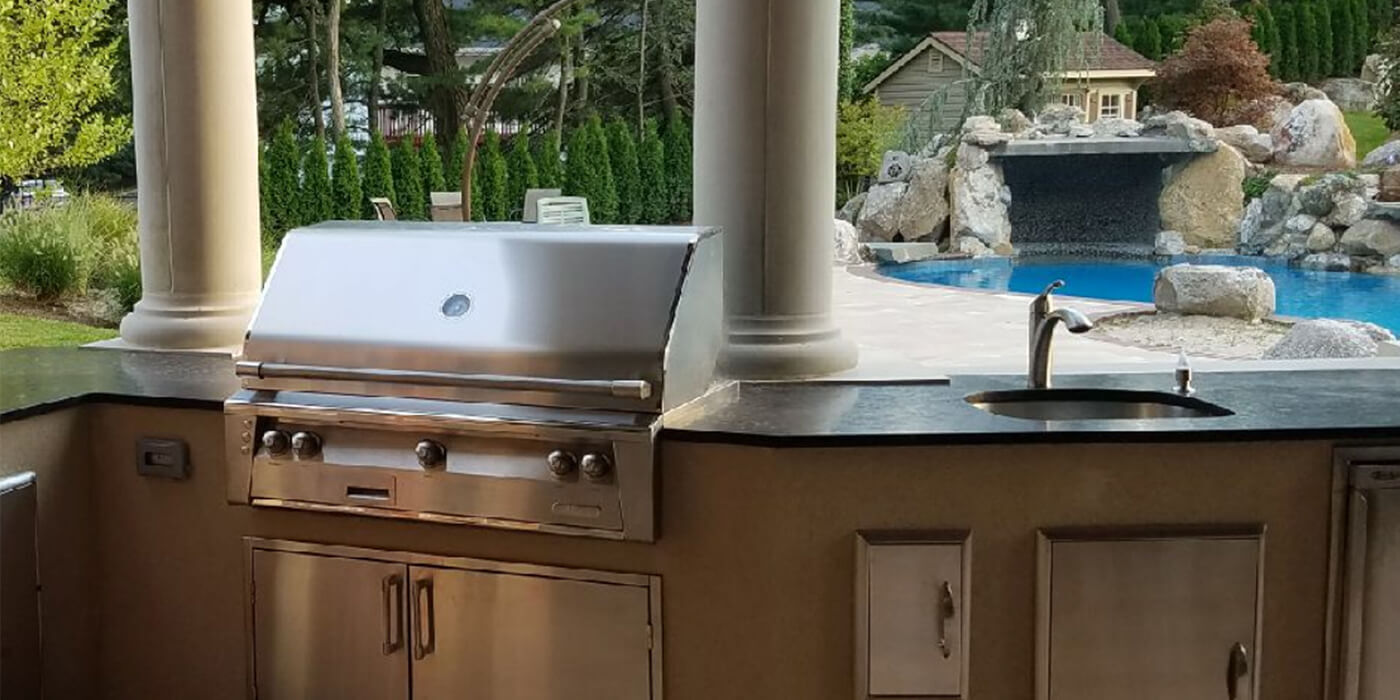
Ideal for large outdoor spaces, curved RTF islands put all your kitchen appliances in one convenient row, with a space for the main attraction in the center, the grill.
With a curved layout, you’ll be able to turn your outdoor kitchen into a bar by placing stools around the counter, giving your guests more room to dine and chat. With your grilling space on one side of the island and a seating area on the other, you’ll be able to enjoy some company while you cook.
L-Shaped
✅ Great for creating functional "zones"— such as a cooking zone with a gas grill and power burner, and a beverage zone with an ice maker and sink.
✅ More space to prep and serve your meals.
✅ Ideal for corner installations or to create a focal point.
L-shaped islands can be installed out in the open as the main focal point or tucked away in a corner of your backyard if you're short on walking space.
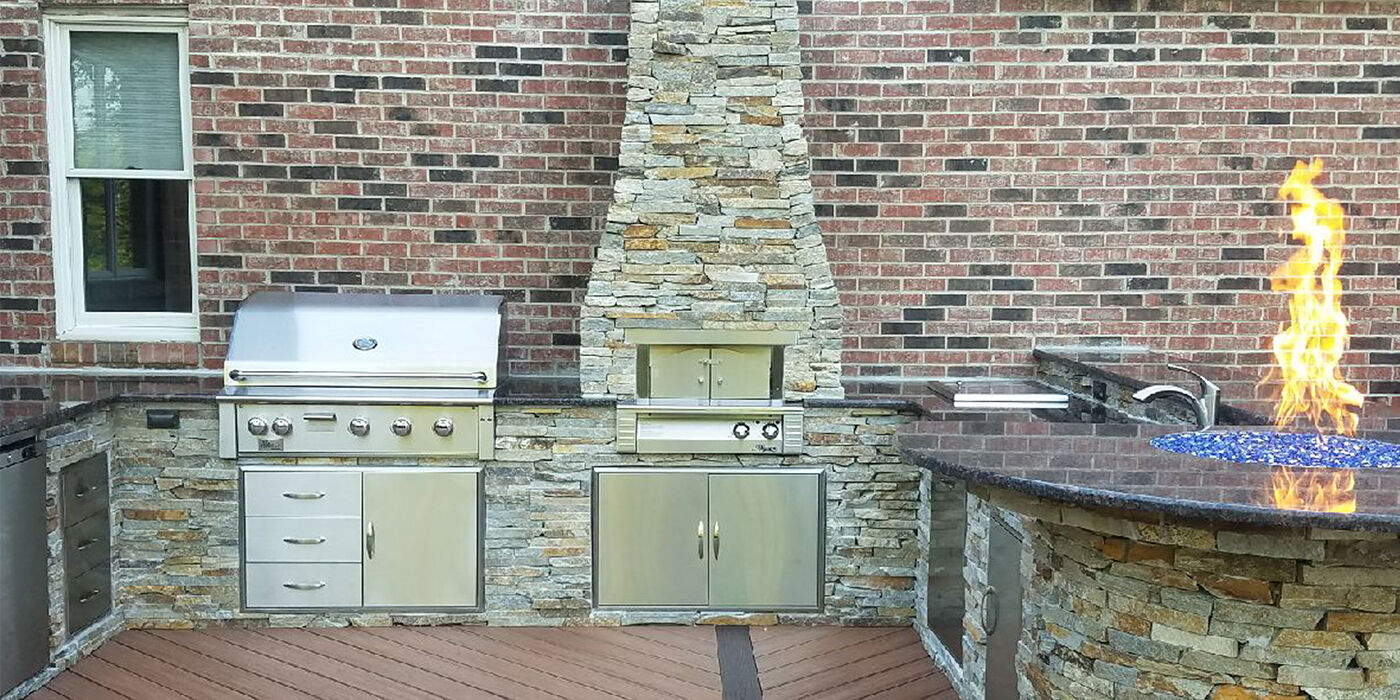
This kind of layout is perfect for those who want distinct “zones” in their outdoor kitchens. You’ll be able to add a cooking zone on one side of the island, complete with a large grill head, side burners, and a warming drawer, and a beverage zone on the other side, with a sink, icemaker, and refrigerator.
A separate beverage zone gives you more space to serve drinks and hors d'oeuvres, so you can grill up the main course without interruption.
Straight
✅ Space-saving solution for smaller yards.
✅ Compact yet functional, with room for a high-quality grill and side burner.
✅ Can be installed flush against a wall or fence for minimal disruption.
If you don’t have a large backyard, but dream of enjoying a fully functioning outdoor kitchen, consider a small, straight RTF island.
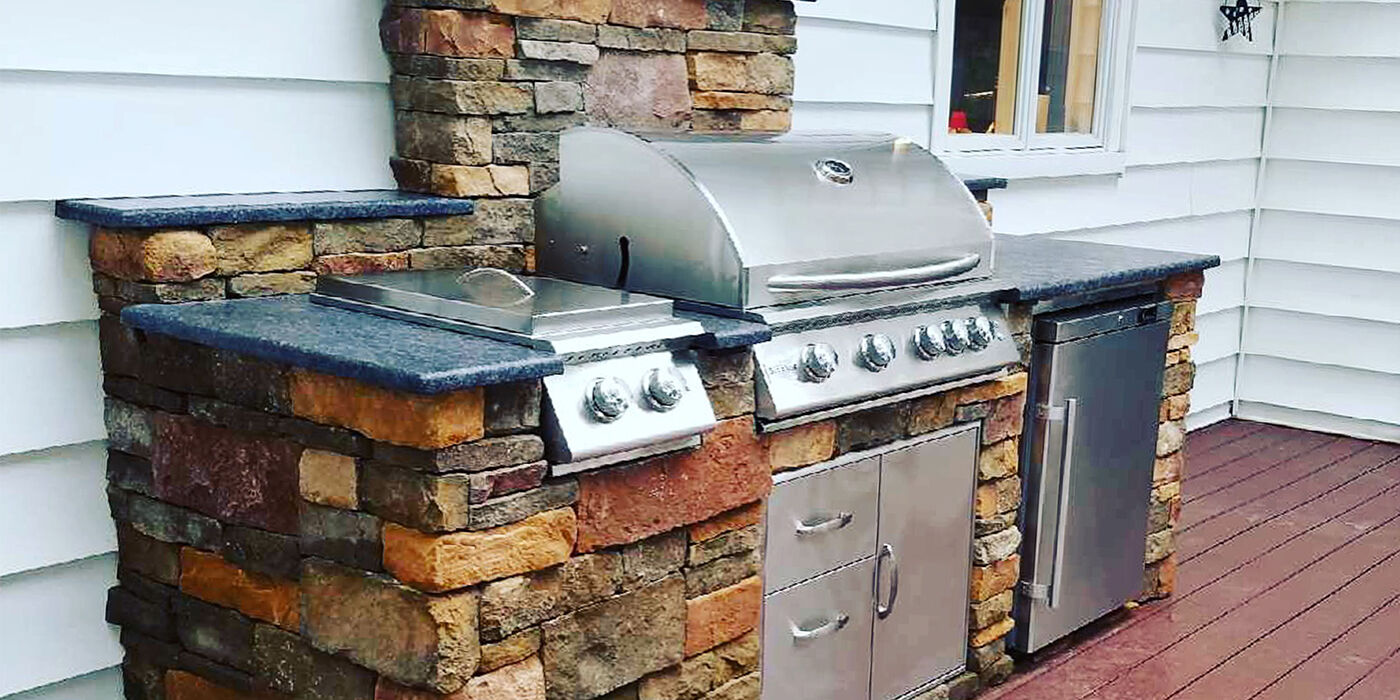
With its compact design, a straight island can be pushed up against a wall, so it won’t disrupt the flow of your backyard space. While you’ll have less room to prepare your meals, straight RTF islands can still accommodate an impressive built-in grill head and an extra side burner.
Finishing Materials
Once you’ve selected the layout, it’s time to choose durable, weather-resistant finishes to match your style and climate.
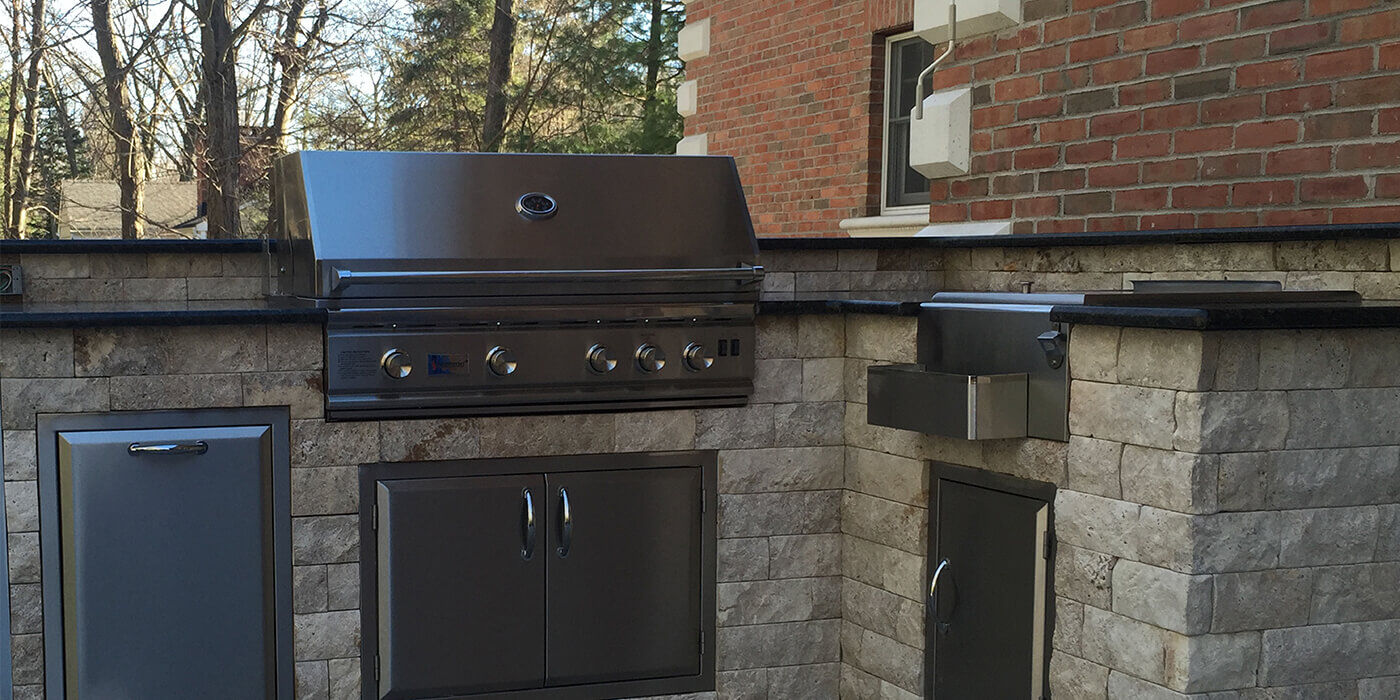
Some of the most popular finishing materials include stone veneers, brick, concrete, stucco, and tile.
Stone Veneers
✅ Timeless look and superior resilience
✅ Manufactured stone is lighter and more DIY-friendly than natural stone
✅ Real stonework look for a more affordable price
Stone veneers offer an ageless look that’s easy to maintain and remarkably strong. There are two distinct types of stone veneers, natural and manufactured.
Natural stone veneers are very heavy and require concrete foundations, making them difficult to install properly without experience. If you choose to use natural stone veneers, we recommend hiring a professional to finish your outdoor kitchen island.
Manufactured stone veneers are cement mixtures formed from real stone molds. They’re much lighter than real stone veneers and can be installed on wood or steel frames.
Using manufactured stone veneers is an effortless way to achieve the look and feel of real stonework at half the price, and you’ll be able to install it yourself.
Brick
✅ Rugged, traditional look
✅ Very weather-resistant
✅ Brick veneers are lighter and easier to install than whole bricks
Brick adds a rugged, traditional finish to your outdoor kitchen that will last for a lifetime. You can finish your kitchen island with whole bricks or purchase brick veneers.
If you go with whole bricks, you’ll stack and mortar them directly onto your RTF kitchen base.
Brick veneers are much lighter than whole bricks , but instead of attaching them directly to your kitchen island base, you’ll first need to mortar them onto a cement block or backboard.
Concrete
✅ Sleek, modern look
✅ Can be stained or mixed with decorative elements for a unique texture
✅ Can be structurally reinforced to hold up against severe weather and ground movement
Concrete creates a clean, modern design for your outdoor kitchen that can handle tough elements. Unlike natural stone, you can structurally reinforce concrete to hold up against severe weather conditions and ground movement.
Available in a variety of color options, cement can be coupled with additional decorative elements, such as small stones or glossy tiles, to give your outdoor kitchen a textured, eclectic look.
Stucco
✅ Lightweight and cost-effective
✅ Ideal for coastal areas
✅ Textured, transitional look that can be stained or pigmented to match your space
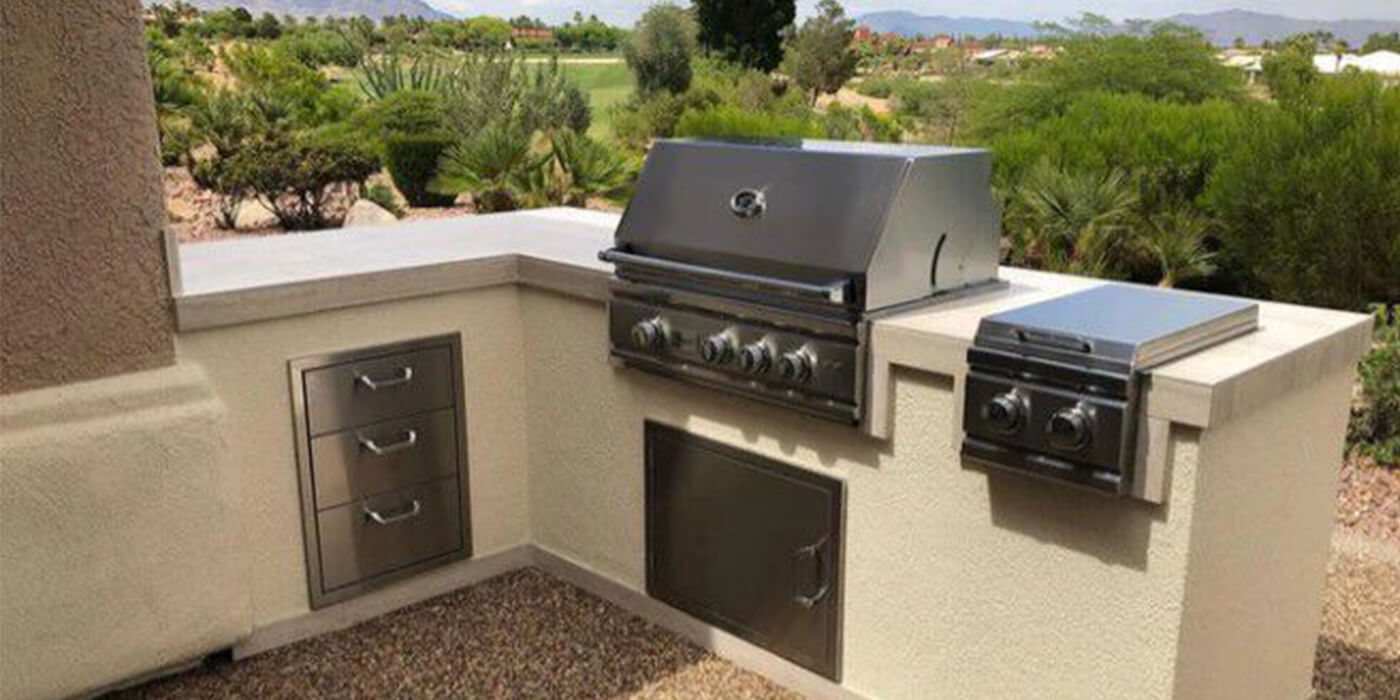
Stucco is a favorite among DIYers because it’s incredibly affordable, lightweight, and simple to install. It offers a textured, transitional look that can be stained or pigmented to match the rest of your outdoor décor.
Stucco is ideal for coastal areas, like Florida and California, because it’s susceptible to flaking or cracking off over time in freeze-thaw climates.
Tile
✅ Available in a wide variety of colors, styles, and patterns
✅ Cost-effective and easy to install
✅ Best solution for complex grill islands
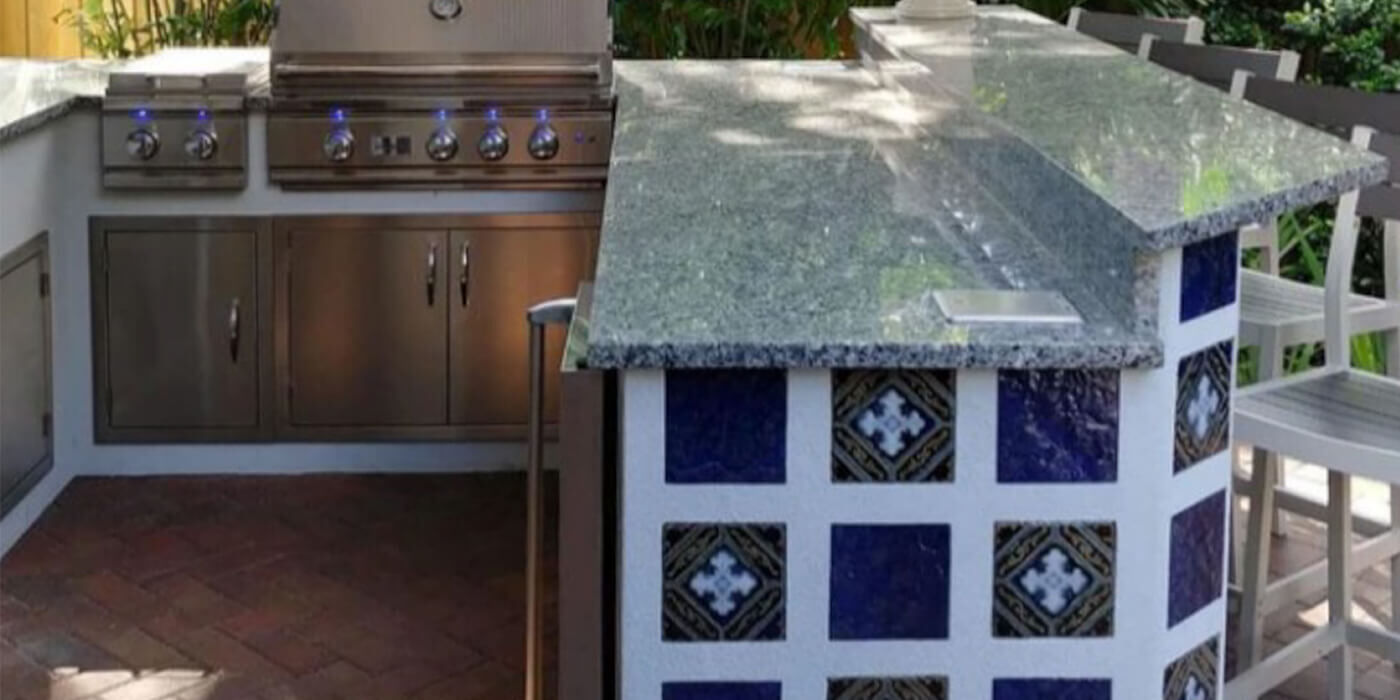
Tile is very cost-effective and easy to install, offering an excellent solution for more complex kitchen layouts.
There’s a wide range of unique tile colors and textures to choose from, such as marble and porcelain. By mixing and matching tile patterns, you can design a functional work of art that wows your guests.
Like stucco, tile is recommended for even-keeled climates, as it may pop off the island base in frigid temperatures. If you use tile, you’ll also need to grout and seal it.
Countertops
When selecting your countertop material, think about how it will be used. Will you be setting hot pots and pans on the counter? Are you looking for a material that’s resistant to stains? Are you planning to put heavy, stainless steel appliances on the counter and need a material that won't scratch easily?
The climate you live in plays a role, too. Some countertop materials can handle unpredictable weather, while others can crack, chip, or split in extreme conditions.
You’ll also need to consider your budget. High-end materials, including stainless steel, quartz, and granite, will be more expensive than limestone, concrete, and tile. Keep in mind, investing in a material that costs more up front may save you time-consuming repairs in the future, especially if you live in an area that experiences harsh weather.
A few of the most common countertop materials include stainless steel, granite, quartz, tile, concrete, and bluestone/limestone.
Stainless Steel
Stainless steel is the most expensive countertop option, but it offers a clean, modern look that will complement the other stainless steel appliances you install in your RTF kitchen.
Since stainless steel isn’t porous, you’ll always have a hygienic cooking surface that’s easy to clean. However, stainless steel countertops aren’t recommended for outdoor kitchens that sit in direct sunlight, because they can heat up to scalding-hot temperatures, making your kitchen virtually unusable.
Granite
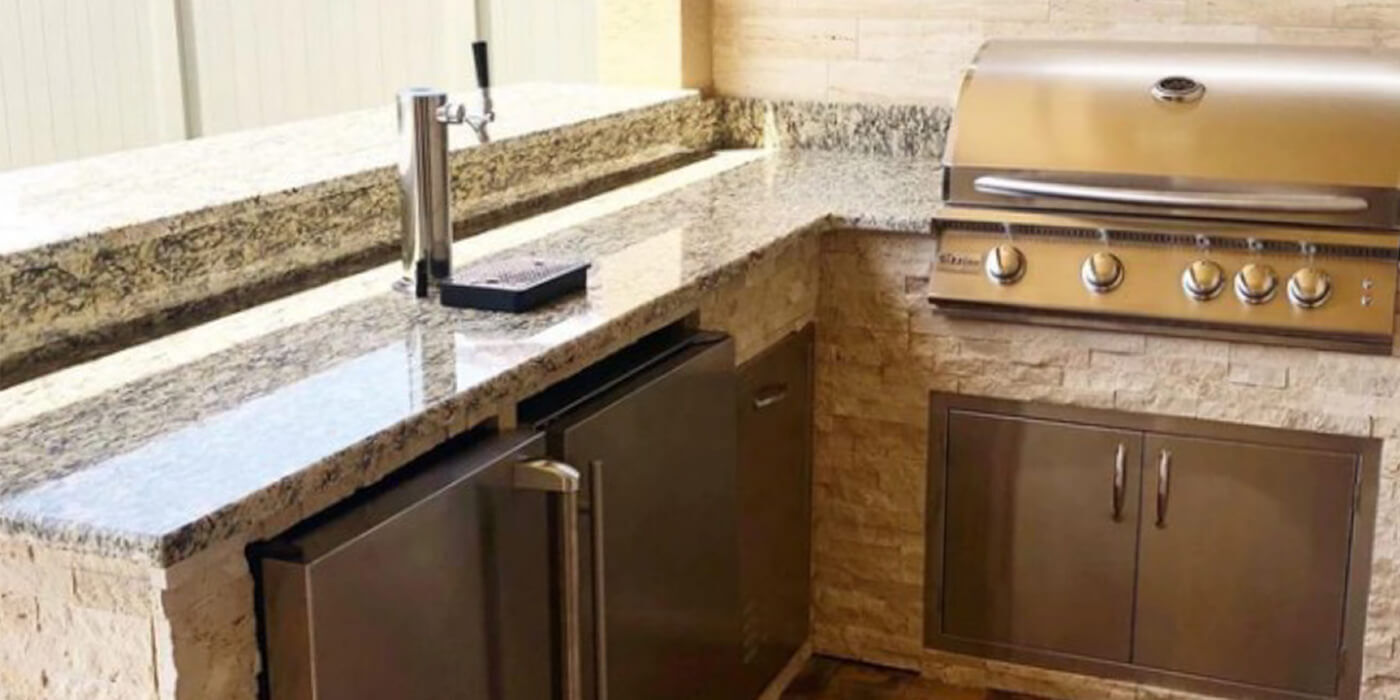
This natural stone is durable, resistant to mold, mildew, scratches, and stains, and requires little maintenance.
Available in a variety of shades and patterns, outdoor granite countertops come standard with a textured finish, instead of the polished finish you’ll find on indoor granite countertops. You’ll need to apply a sealant to keep your granite counter pristine.
Granite also heats up quickly. If you plan to install your outdoor kitchen in an area that receives direct sunlight, be sure to select a lighter color to prevent it from overheating.
Quartz
Quartz is a dense, long-lasting material that offers a sophisticated look straight from Better Homes & Gardens magazine.
It’s also resistant to stains and scratches, which is a plus if you anticipate preparing messy barbecue spreads this season.
Quartz is prone to yellowing over time in direct sunlight, so consider covering your outdoor kitchen when you aren’t using it to preserve your bright, white countertop.
Tile
As we mentioned earlier, tile is a budget-friendly option that comes in a variety of colors, textures, and patterns. You can finish your kitchen island base and countertop in tile, or you can mix and match materials for a look that showcases your personal style.
While inexpensive, tile countertops require regular maintenance. The grout between your countertop tiles will need to be scrubbed frequently to prevent dirt buildup and staining.
Concrete
Concrete countertops are a top choice for any kind of climate and can be structurally reinforced with non-corrosive materials, like metal rebar.
You can have a concrete countertop made in any color you’d like and leave the edges rough for modern-industrial style or level them off for a crisp, clean look.
Because of its porous nature, you’ll need to seal your concrete countertop and re-seal it regularly to prevent stains and bacteria growth.
Bluestone/Limestone
These organic-looking countertop materials are available in polished and unpolished finishes, appealing to modern and rustic styles alike.
Bluestone and limestone are incredibly sturdy, so they’ll withstand any kind of weather with no issue, but they are porous, so you’ll need to seal and re-seal your countertop every couple of months to prevent it from staining.
Pro Tip:
Bluestone and Limestone are natural stones and are very heavy. This is important to note if you plan to install your RTF outdoor kitchen on a wooden deck, as you’ll need to make sure the weight of your kitchen island will be properly supported.
Location
Your installation location needs to be able to safely support the weight of your RTF outdoor kitchen. We recommend installing your kitchen island on a concrete foundation, especially if you plan to use heavy construction materials, such as granite or stone.
If you’d like to install your RTF outdoor kitchen on a wooden deck, you’ll need to consult a structural engineer to make sure your deck can support the kitchen’s weight.
Pro Tip:
Safety regulations require at least eight inches of space between any installed appliances to prevent them from overheating. This may increase the amount of space your outdoor kitchen island will require and affect the number of appliances you can include.
Cooking Appliances
Every perfect outdoor kitchen needs the right mix of appliances to match your cooking habits. Start with the essentials:
Cooking Zone
✅ Built-in gas grill
✅ Side burners or power burner
✅ Griddle, infrared burner, or kamado
✅ Pizza oven or warming drawer
Every outdoor kitchen needs a basic cooking zone, which includes a grill and prep space.
However, if you know you’ll be making most of your meals outside this season or love hosting large gatherings, consider adding appliances to your outdoor kitchen that will help you multi-task , such as a side burner, an infrared burner, a griddle, a pizza oven, and a warming drawer.
Beverage Center
✅ Outdoor-rated refrigerator
✅ Sink and icemaker
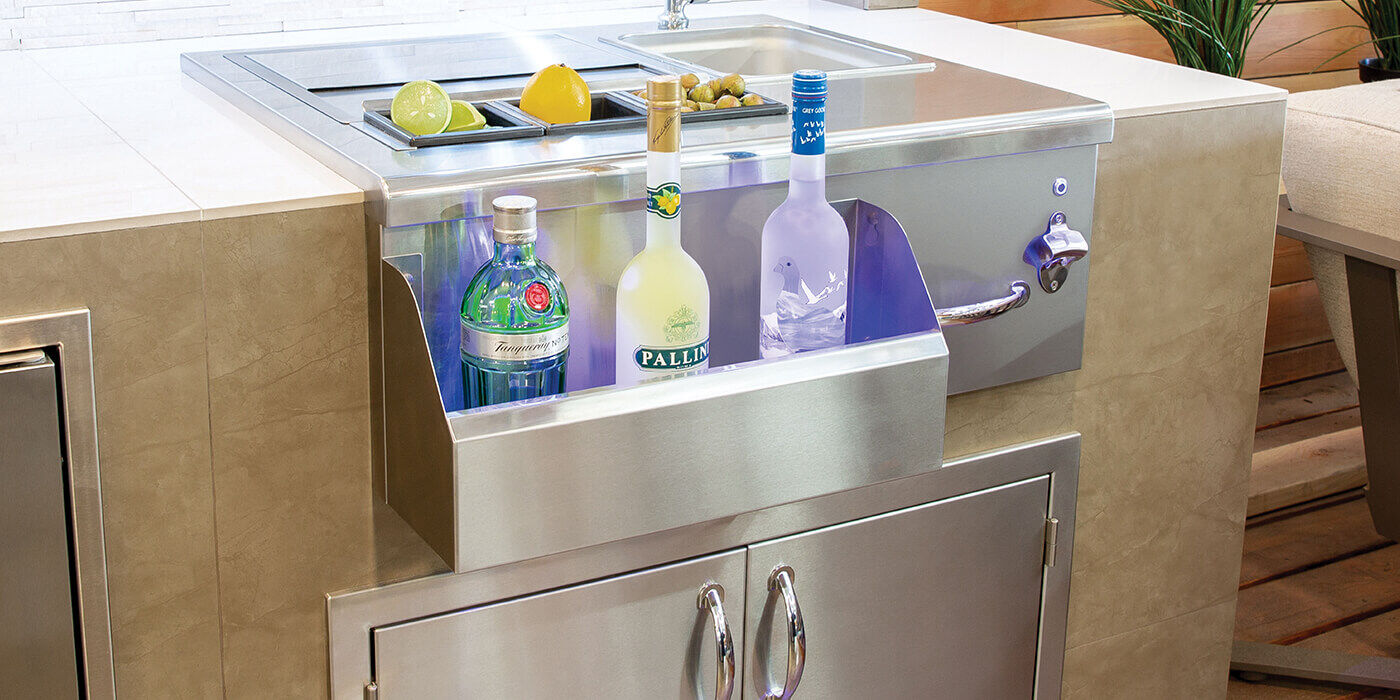
✅ Optional: Bar with taps, blender station, and garnish holders
You can incorporate a beverage zone with an outdoor-rated refrigerator to store your drinks and perishable ingredients, an ice maker, and sink for easy clean-up.
If your RTF outdoor kitchen layout is large enough, you can even create an elaborate bar center, complete with taps, a cooler, and garnish storage for cocktail-making.
Storage Solutions
✅ Access doors for maintenance
✅ Pull-out drawers, trash bins, and utensil trays
A common mistake that many homeowners make is not including enough storage in their outdoor kitchens.
If you want the option to prepare all your meals outside, without running back into the house to grab ingredients, utensils, plates, and more, you’ll need to maximize your outdoor kitchen space with handy storage options, such as access doors, pull-out drawers, and trash and recycling receptacles.
Pro Tip:
All appliances should be rated for outdoor use. Look for stainless steel construction to resist rust and corrosion. Check appliance manuals carefully to ensure they can be used outside.
Utility Lines
Depending on which appliances you purchase, you’ll need to hire a professional to install utility lines in your outdoor space.
Gas lines
✅ Fuel options include Natural Gas and Propane
✅ Make sure your gas supply matches your appliance BTU output
If you don’t have access to Natural Gas, most grills can be operated with a standard, 20-lb. Propane tank.
You’ll need to make sure your installer knows the total BTU rating of your outdoor appliances to ensure your gas supply can handle the output. The higher total BTU rating of your appliances, the more gas you’ll need.
You can fuel your cooking appliances with Natural Gas or Liquid Propane. If you use Natural Gas, you’ll need to hire a professional to install a gas line in your backyard and route it to your outdoor kitchen.
Water lines
✅ Required for sinks and ice makers
✅ Options include hot/cold lines from the house or an in-line water heater
If you’re building a beverage center with a sink or icemaker, you’ll need to have a water line installed and routed to your outdoor kitchen, as well as a designated drain that connects to a sewer system.
Hot and cold-water lines can be run from your home to your outdoor kitchen, or you can hire a professional to install a separate water line with an in-line water heater.
You can also purchase a small water heater tank and install it underneath the sink in your outdoor kitchen.
Electrical lines
✅ Needed for lighting, refrigerators, ignition systems, and other electric outdoor appliances
✅ Install GFCI outlets for safety and code compliance
Electrical connections are necessary for most outdoor kitchen islands as they provide the power for grill lights, electronic ignition systems, refrigerators, blenders, icemakers, and other electric appliances.
In addition to electrical lines, you’ll need to hire a professional to install a ground fault circuit interrupter (GFCI) outlet to ensure your appliances operate safely.
Create a Game Plan for Your Project
FAQs
RTF systems offer a faster, more cost-effective solution for outdoor kitchens. Unlike fully custom outdoor kitchens that are built from the ground up, RTF units come pre-framed and ready for finishing, significantly reducing build time while still allowing for customization.
This depends on local building codes and whether your project includes gas lines, electrical work, or plumbing. Check with your local municipality or contractor before installation.
Once finished with appropriate materials, RTF kitchens are relatively low maintenance. Keep appliances clean, seal countertops as needed and inspect any exposed surfaces annually to keep your outdoor grill area looking great for years.
Yes, most RTF manufacturers offer a warranty on structural components. Warranty coverage may vary depending on the brand and materials, so be sure to review the details before purchasing.
We're Here to Help
Have more questions about ready-to-finish outdoor kitchens? We'd love to help! Call our team of NFI Certified experts at 844.284.0506 today!
More Resources
Our Ready-To-Finish Outdoor Kitchen Buying Guide highlights several advantages these prefab models have over their scratch-built counterparts.
Find a grill that suits your cooking style and fits your new outdoor kitchen with our Grill Buying Guide.
Here are 6 things you should know before you start building your ultimate outdoor kitchen.
 |
Tom Kearney has been a Technical Sales Representative at Woodland Direct for over a decade, where he has honed his expertise in gas, wood, and pellet appliances as an NFI-Certified expert. Tom's dedication to customer satisfaction is exemplified by his work with high-profile clients, including assisting SpaceX President Gwynne Shotwell in sourcing five stunning fireplaces for her Texas home. When he's not helping clients find their perfect fireplace, Tom enjoys hitting the golf course, skiing down snowy slopes, and exploring new trails on his bike. Call him or one of our experts in fire at 800.919.1904. |

